
Your Complete Guide to Mastering Winbox for Network Management
Unlock the full potential of MikroTik Winbox. Learn secure setups, core ISP workflows, and troubleshooting secrets for flawless network management.

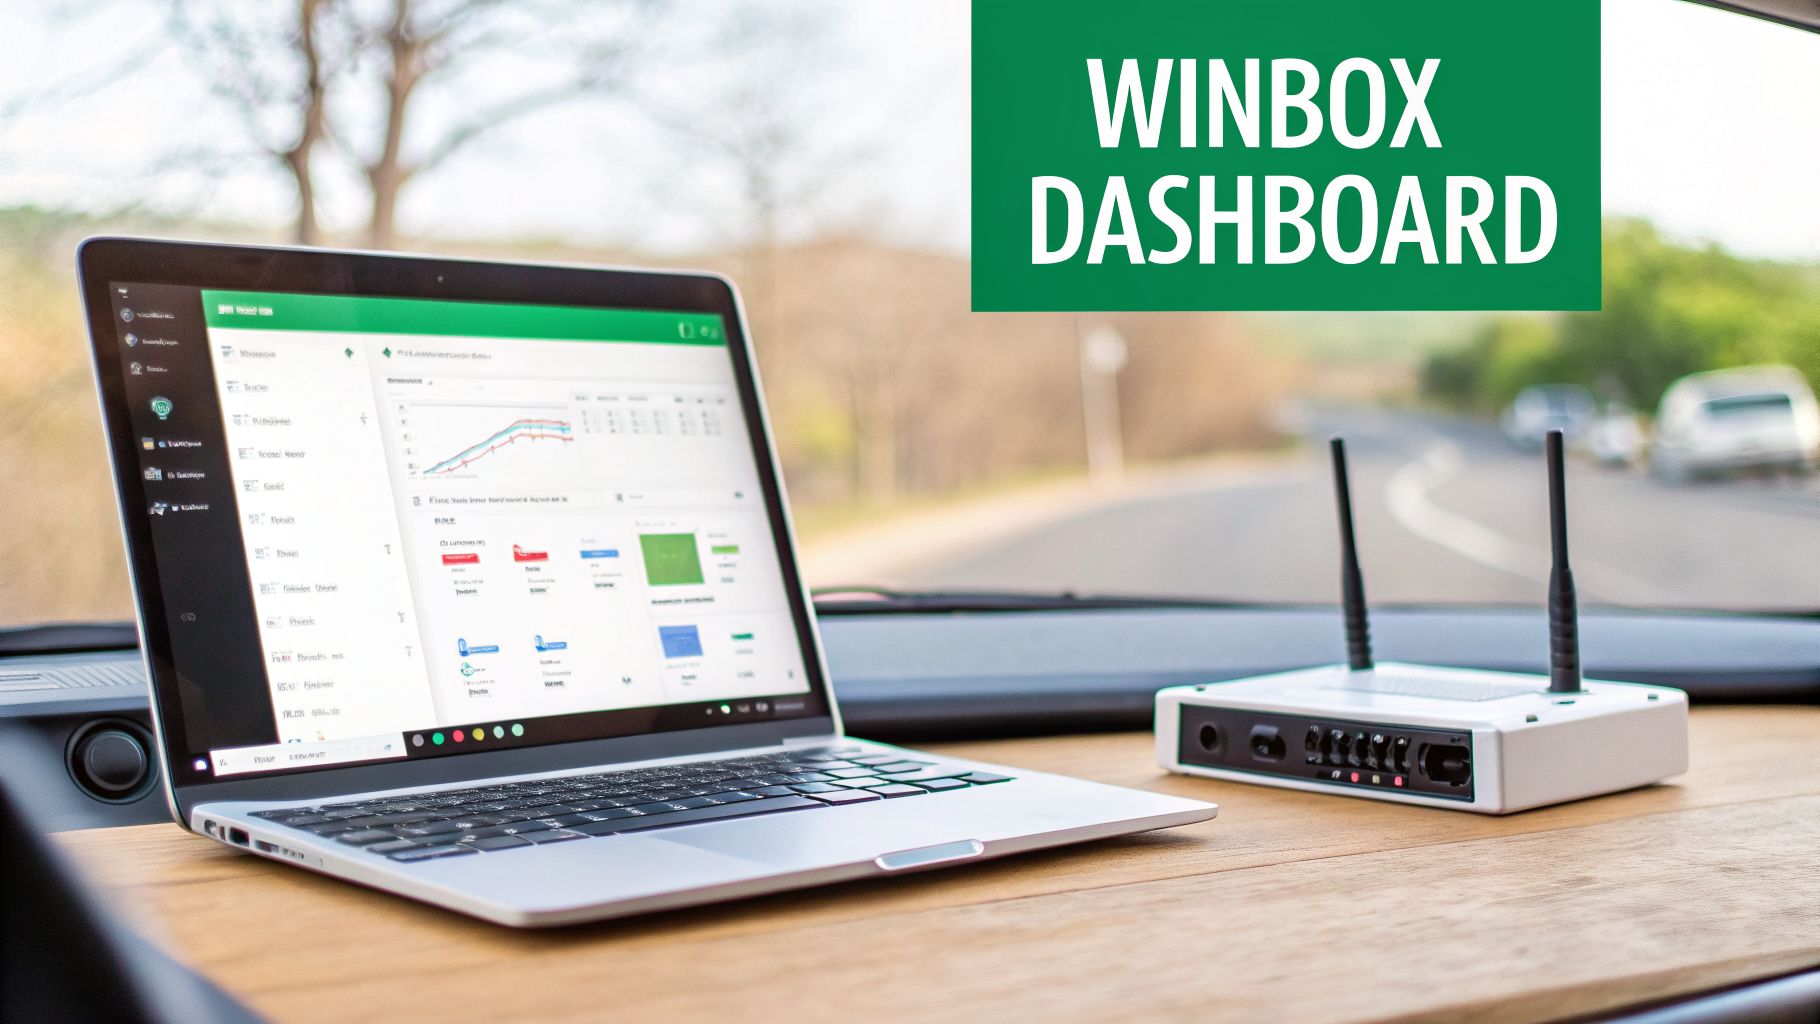
If you've ever worked with a MikroTik router, you know that Winbox is the key to unlocking its power. It’s the go-to tool that turns complex network management into a straightforward, visual experience, making it essential for anyone serious about running a RouterOS device.
The Command Centre for Your MikroTik Network
Think about trying to fly a plane without a cockpit. You'd be guessing, working with raw data, and hoping for the best. That's what managing a MikroTik router without Winbox can feel like—you're stuck in the world of command-line, which is powerful but not always practical.
Winbox is your network's cockpit. It gives you a real-time view and hands-on control over everything happening inside your router. Instead of memorising and typing out long commands, you get simple menus to configure firewalls, manage user connections, and see your network traffic at a glance.
Connecting Tech to Business
For Internet Service Providers (ISPs) and hotspot managers, Winbox is more than just a convenience. It’s the critical link between the technical nuts and bolts of the network and the actual business of providing internet.
At its core, Winbox is the main desktop app for setting up and managing MikroTik RouterOS. It lets you handle everything from port forwarding and firewall rules to configuring entire hotspot gateways, all without needing to be a command-line expert.
This ease of use is a game-changer, especially for smaller providers who depend on MikroTik for their PPPoE and hotspot services. They can get customers online quickly and manage their connections efficiently, a process that would otherwise be incredibly time-consuming. You can explore a practical example in this guide on using Winbox for network configuration.
Ultimately, it lets network admins focus on what really matters: keeping the internet service stable and reliable for their customers.
Automation: The Next Step for Modern ISPs
While Winbox is perfect for initial setup, troubleshooting, and hands-on adjustments, it isn't built for managing hundreds or thousands of subscribers manually. That would be a nightmare. This is where automation becomes not just a luxury, but a necessity.
An advanced ISP billing platform works alongside Winbox to handle the repetitive, day-to-day tasks. For example, a system like the Centipid ISP Billing System talks directly to your RouterOS devices to automate workflows that would take hours to do by hand in Winbox.
Some of the key tasks you can automate are detailed at centipidbilling.com and include:
Automatic User Creation: When a new customer signs up, their account is created in the router instantly.
Dynamic Bandwidth Management: The system automatically sets speed limits based on the customer’s service plan.
Service Suspension and Re-activation: Access is automatically blocked for unpaid bills and restored the moment payment is made.
This powerful combination means you use Winbox for what it excels at—deep configuration, monitoring network health, and solving complex problems. Meanwhile, a billing platform like the one detailed at centipidbilling.com handles the daily grind, freeing up your technical team to focus on growth.
Your First Connection and a Tour of the Winbox Interface
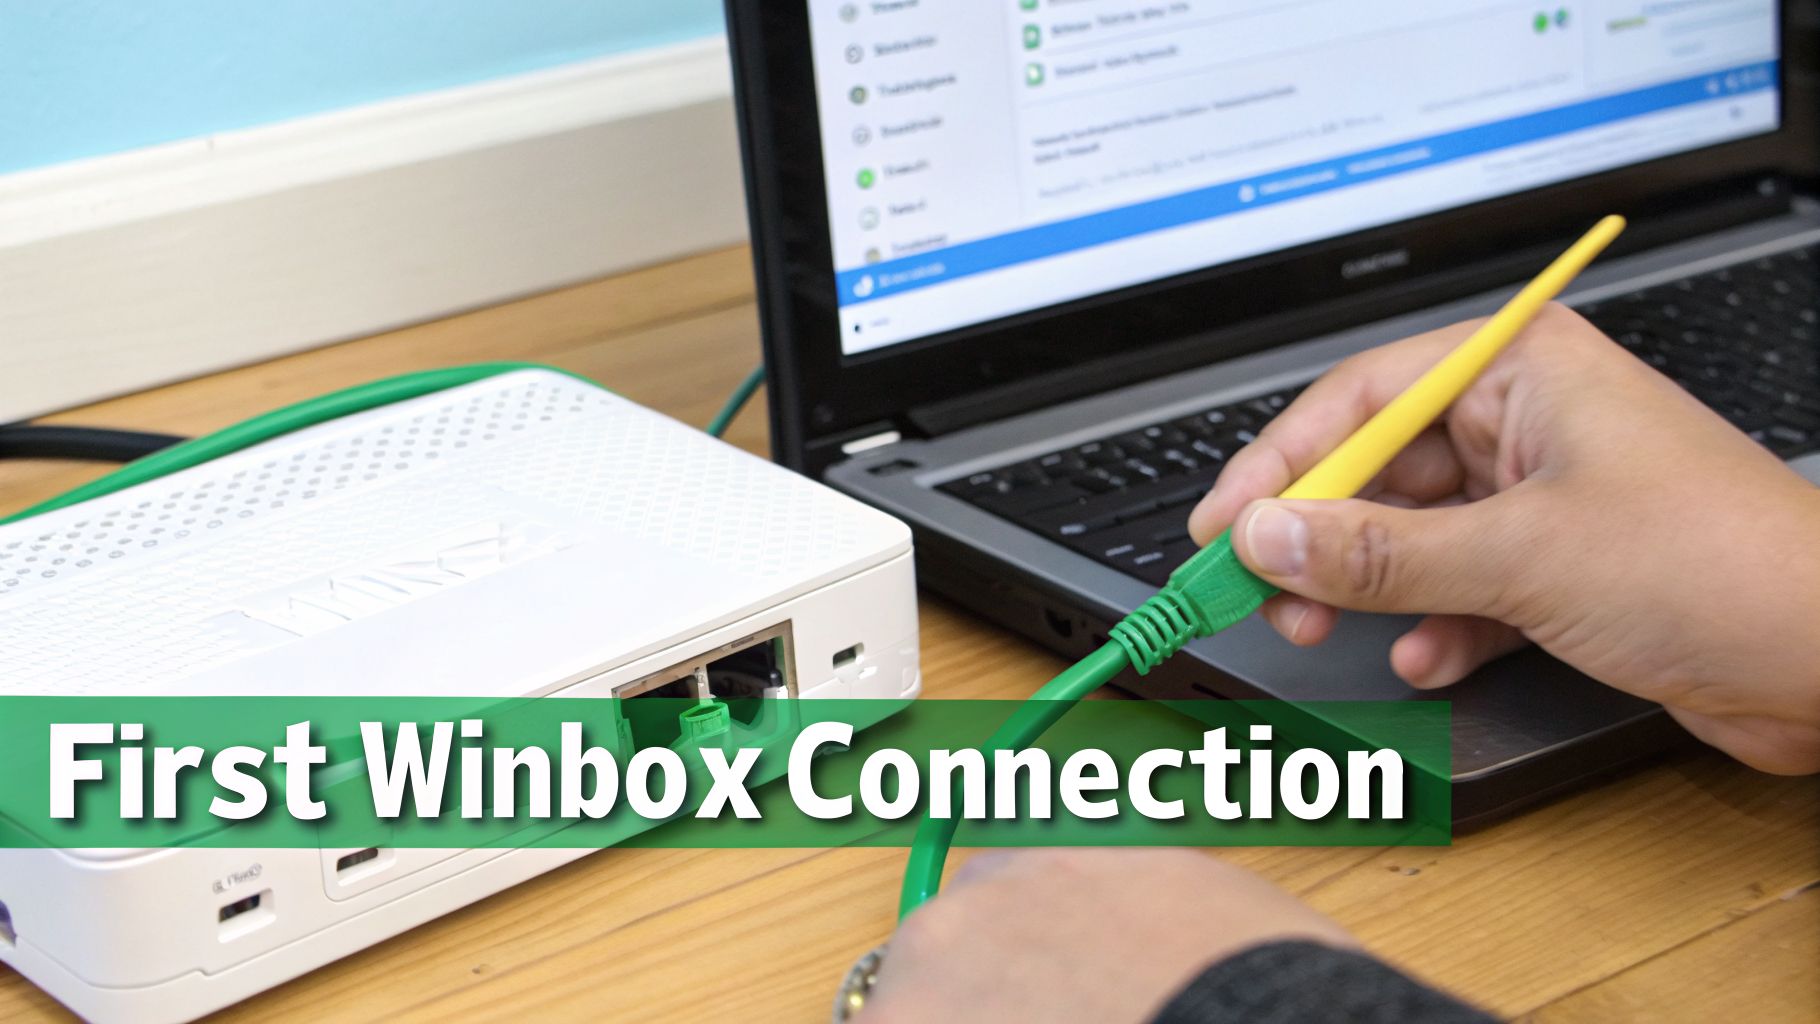
Alright, let's get you connected. Diving into a professional tool like Winbox for the first time can seem a bit intimidating, but the process is actually quite straightforward once you've done it once. The first thing you'll need is the application itself, which you can grab directly from MikroTik’s official website.
Once it's downloaded, fire it up. You'll be greeted by a small login window. This is your entry point to any RouterOS device on your network. From here, you have two main ways to connect.
Connecting via IP vs MAC Address
The most obvious method is connecting via the router's IP address. If your network is already set up and you know the router's IP, simply type it into the "Connect To:" field, add your login credentials, and hit "Connect." This is a standard Layer 3 connection, meaning it works just like any other network application connecting over an IP network.
But what if you don't know the IP? Or you're setting up a brand-new router straight out of the box? This is where Winbox really shines.
The "Neighbours" tab is an absolute lifesaver for network technicians. Give it a click, and Winbox will instantly scan your local network segment (Layer 2) and list every MikroTik device it finds. You'll see their MAC address, IP address (if they have one), model, and RouterOS version.
Connecting via the MAC address is the go-to method for initial configuration. Just find your device in the Neighbours list, click its MAC address, and Winbox will auto-populate the "Connect To:" field. This lets you access a router even if its IP configuration is completely wrong or non-existent, saving you from a factory reset.
A Quick Tour of the Interface
Once you're in, you'll see the main Winbox interface. It's clean, fast, and feels more like a classic desktop application than a web page. Don't be overwhelmed by the options; think of it as a well-organised toolbox for your network.
On the left, you'll find a main menu that lists all the configuration areas. This is where you'll spend 99% of your time. Getting familiar with a few key sections is all it takes to start feeling comfortable.
Here are the sections you'll likely use most often:
Interfaces: This is your starting point. It lists all the physical ports (Ethernet, SFP) and virtual connections (VLANs, Tunnels) on your router. You can check link status, monitor real-time traffic, and make basic configuration changes here.
IP: The control centre for all things IP-related. This menu contains sub-menus for setting up firewall rules, configuring a DHCP server, managing IP addresses, and defining routes.
Queues: Essential for any ISP or network manager. This is where you'll handle bandwidth management. You can create Simple Queues to set speed limits for customers or use more advanced Queue Trees for complex traffic shaping.
Log: Your router's diary. The Log provides a running commentary of everything happening on the device, from a user successfully connecting to a PPPoE session dropping. It is your single most important tool for troubleshooting problems.
Take a few minutes to click through these menus. You can't break anything just by looking! As you get more comfortable, you can explore our other articles to learn more about managing your MikroTik network. This initial exploration is the first step to confidently managing and optimising your network.
Essential Security to Lock Down Your Router
If there's one mistake I see network administrators make time and again, it's leaving a router's management interface unsecured. It’s the equivalent of putting a high-security lock on your front door but leaving the key in it. All the convenience of Winbox means nothing if that same ease of access is exploited by someone with bad intentions.
This isn't just about hypotheticals. Poor security has very real, network-crippling consequences. Let's get beyond the default settings and turn your router into a properly secured device.
The High Cost of Negligence
We don't have to look far for a cautionary tale. Back in mid-2018, a severe vulnerability was discovered in RouterOS versions 6.42 and older. This flaw allowed an unauthenticated attacker to connect via the Winbox service, pull files from the router, and ultimately grab the administrator password. From there, they could install backdoors for permanent access.
MikroTik quickly released patches, but countless devices were never updated. This oversight allowed thousands of routers to be hijacked and absorbed into the massive Mēris botnet. You can get the full story on this devastating attack. The lesson here is brutal and clear: securing Winbox is not a 'nice-to-have'; it's a core responsibility.
Building Your Fortress Step-by-Step
The good news is that securing your router isn't some dark art. It’s about applying simple, layered defences that collectively form a strong barrier against intruders. Each of these steps dramatically shrinks your network’s vulnerability.
Here are the absolute essentials every RouterOS admin needs to implement:
Always Update RouterOS and Winbox: This is your first and most powerful defence. MikroTik is constantly patching security holes and improving the system. Running old software is like knowingly using a faulty lock on your main entrance. Make updating a regular habit.
Use Strong, Unique Passwords: The default "admin" user with a blank password is a gaping security hole waiting to be exploited. Your first action on any new router should be to create a new user account with full permissions, give it a long and complex password, and then immediately disable the default 'admin' account.
Change the Default Username: Every attacker on the planet knows the default username is 'admin'. By simply changing it to something unique, you force them to guess two things—the username and the password—making their job significantly harder.
Just by doing these three things, you’ve already made your router a far less appealing target.
Restricting Access to Winbox
Strong login details are great, but it's even better if unauthorised users can't even get to the login screen. Leaving the Winbox port open for anyone to connect to is a critical error. You need to control who can even attempt to log in by limiting access to only trusted networks.
The single biggest security improvement you can make is to never expose Winbox directly to the internet. Public-facing management ports are constantly scanned by automated bots looking for easy targets.
Instead of leaving it wide open, put these controls in place:
Firewall the Winbox Port: Set up a firewall rule that simply drops all incoming connections to the Winbox port from any IP address not on your trusted management list. If they can't connect, they can't attack.
Use the 'Allowed IP Address' List: Head over to
IP > Services. Here, you can specify exactly which IP addresses or network ranges are allowed to connect to services like Winbox. This is a fantastic second layer of defence.Disable Unused Services: By default, your router might have services like FTP, Telnet, and SSH running. If you don't use them, turn them off in the
IP > Servicesmenu. Every running service is another potential door for an attacker to try.
For managing routers remotely, the gold standard is to first connect to your private network using a VPN (Virtual Private Network). Once you're securely on the local network, you can then open Winbox. This keeps all your management traffic encrypted and completely invisible to the public internet.
Core ISP Workflows for PPPoE and Hotspots
If you’re running an Internet Service Provider, Winbox isn’t just a handy utility. It's your command centre. Two of the most fundamental services you’ll deliver are subscriber connections through PPPoE and public Wi-Fi via Hotspots. These aren't just features; they're the technical backbone of your entire business, and Winbox gives you direct, hands-on control over them.
But here’s the problem: manually managing everything in Winbox just doesn't scale. Imagine logging in for every new customer to add their account, change their data plan, or suspend them for a late payment. As you grow, that approach quickly turns into operational chaos.
Managing Subscribers with a PPPoE Server
Point-to-Point Protocol over Ethernet (PPPoE) is the industry-standard, reliable method for managing individual customer connections. It gives you a way to authenticate every user with a unique login, hand them an IP address, and enforce rules like bandwidth limits.
Getting this up and running in Winbox means working within the PPP menu. You’ll be taking a few key steps:
Creating a PPPoE Server: First, you tell the router which network interface to listen on for customer connections.
Defining IP Pools: This is your stash of IP addresses. The router will automatically assign one from this pool to each user who connects.
Configuring Profiles: Think of profiles as service plan templates. They bundle settings like DNS servers and, crucially, the bandwidth limits (queues) for each package you offer.
Adding User Secrets: This is where you create the username and password for each subscriber and link them to the right service profile.
Once it's set up, you have incredible control. You can jump into the 'Active Connections' tab at any time to see exactly who is online, how much data they’re pulling, and how long they've been connected.
The Power of Automation with an ISP Billing System
While Winbox is perfect for the initial configuration, the day-to-day grind of managing subscribers is where you can really lose time. This is where a dedicated ISP billing platform like Centipid completely changes the game. Instead of you manually adding every new user to the 'Secrets' tab, the billing system handles it for you.
A proper billing platform talks directly to your MikroTik router using its API. As detailed at centipidbilling.com, when a new customer signs up on your website or an existing one pays their bill, the platform can automatically create or enable their PPPoE account in RouterOS. You don't have to lift a finger or even open Winbox for these routine tasks.
This automation covers the entire customer lifecycle. The system can instantly upgrade a user's speed when they change their plan or lock their account for non-payment. This frees you up to use Winbox for what it's best at—strategic work like network troubleshooting and capacity planning—while the software deals with the repetitive, day-to-day admin. If you want to dive deeper, our guide on choosing the right ISP billing software is a great place to start.
Before offering any service to the public, securing your router is non-negotiable. This flowchart shows a simple, layered approach to get you started.
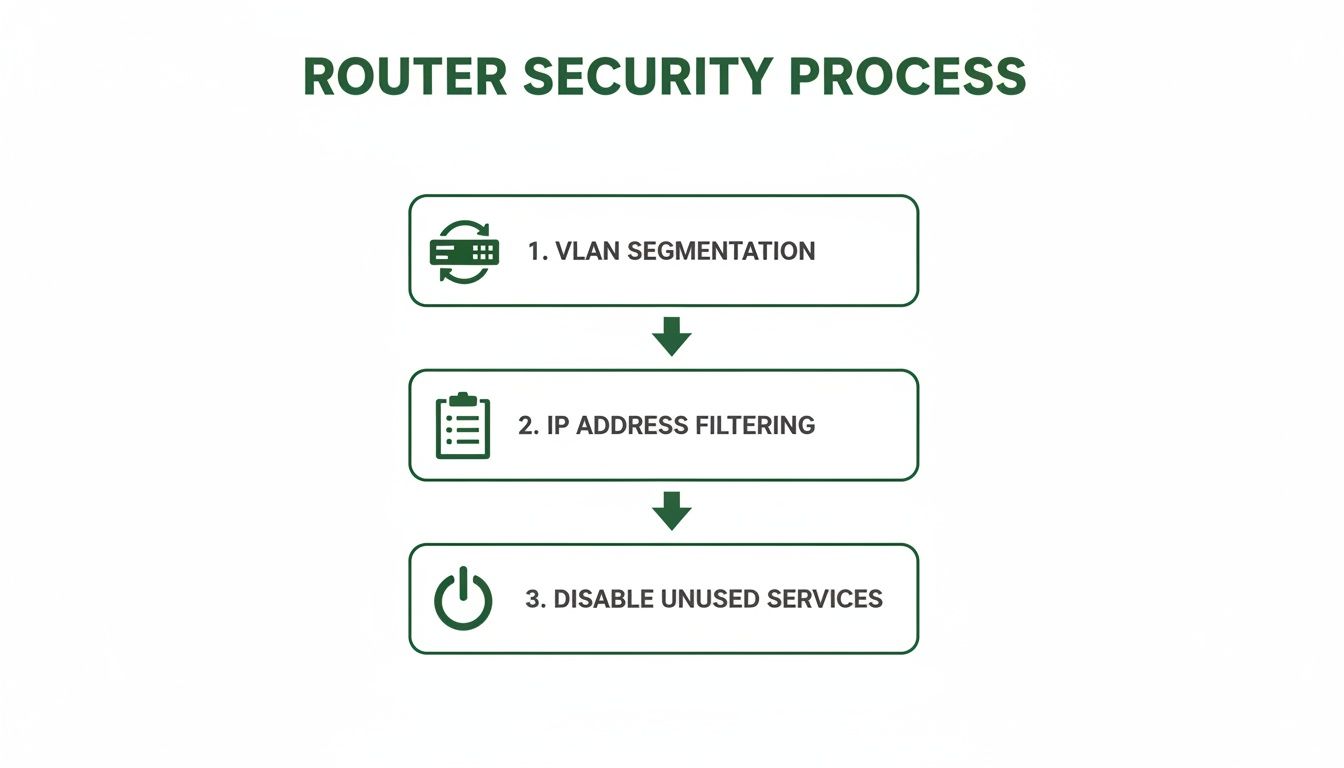
As you can see, isolating your management traffic with VLANs and using IP lists to filter who can access the router are fundamental security measures.
Deploying a User-Friendly Hotspot
The other bread-and-butter workflow for many ISPs is the Hotspot. It’s the perfect solution for offering Wi-Fi in public areas like cafes, community centres, or apartment complexes. From the IP > Hotspot menu in Winbox, you can configure a captive portal—that familiar login page users see before they can get online.
A basic hotspot setup is quite straightforward:
Run the "Hotspot Setup" wizard, which walks you through the initial configuration.
Customise the portal’s HTML files to match your company's branding.
Create different user profiles with various time or speed restrictions.
Generate users, either as individual accounts or batches of voucher codes.
And just like with PPPoE, automation is your best friend. A billing system can handle everything from generating voucher codes and processing online payments to automatically creating accounts based on the Wi-Fi package a user buys. You can learn more about these features at centipidbilling.com. This lets you run a completely automated public Wi-Fi service, leaving Winbox as your go-to tool for advanced network tuning and monitoring.
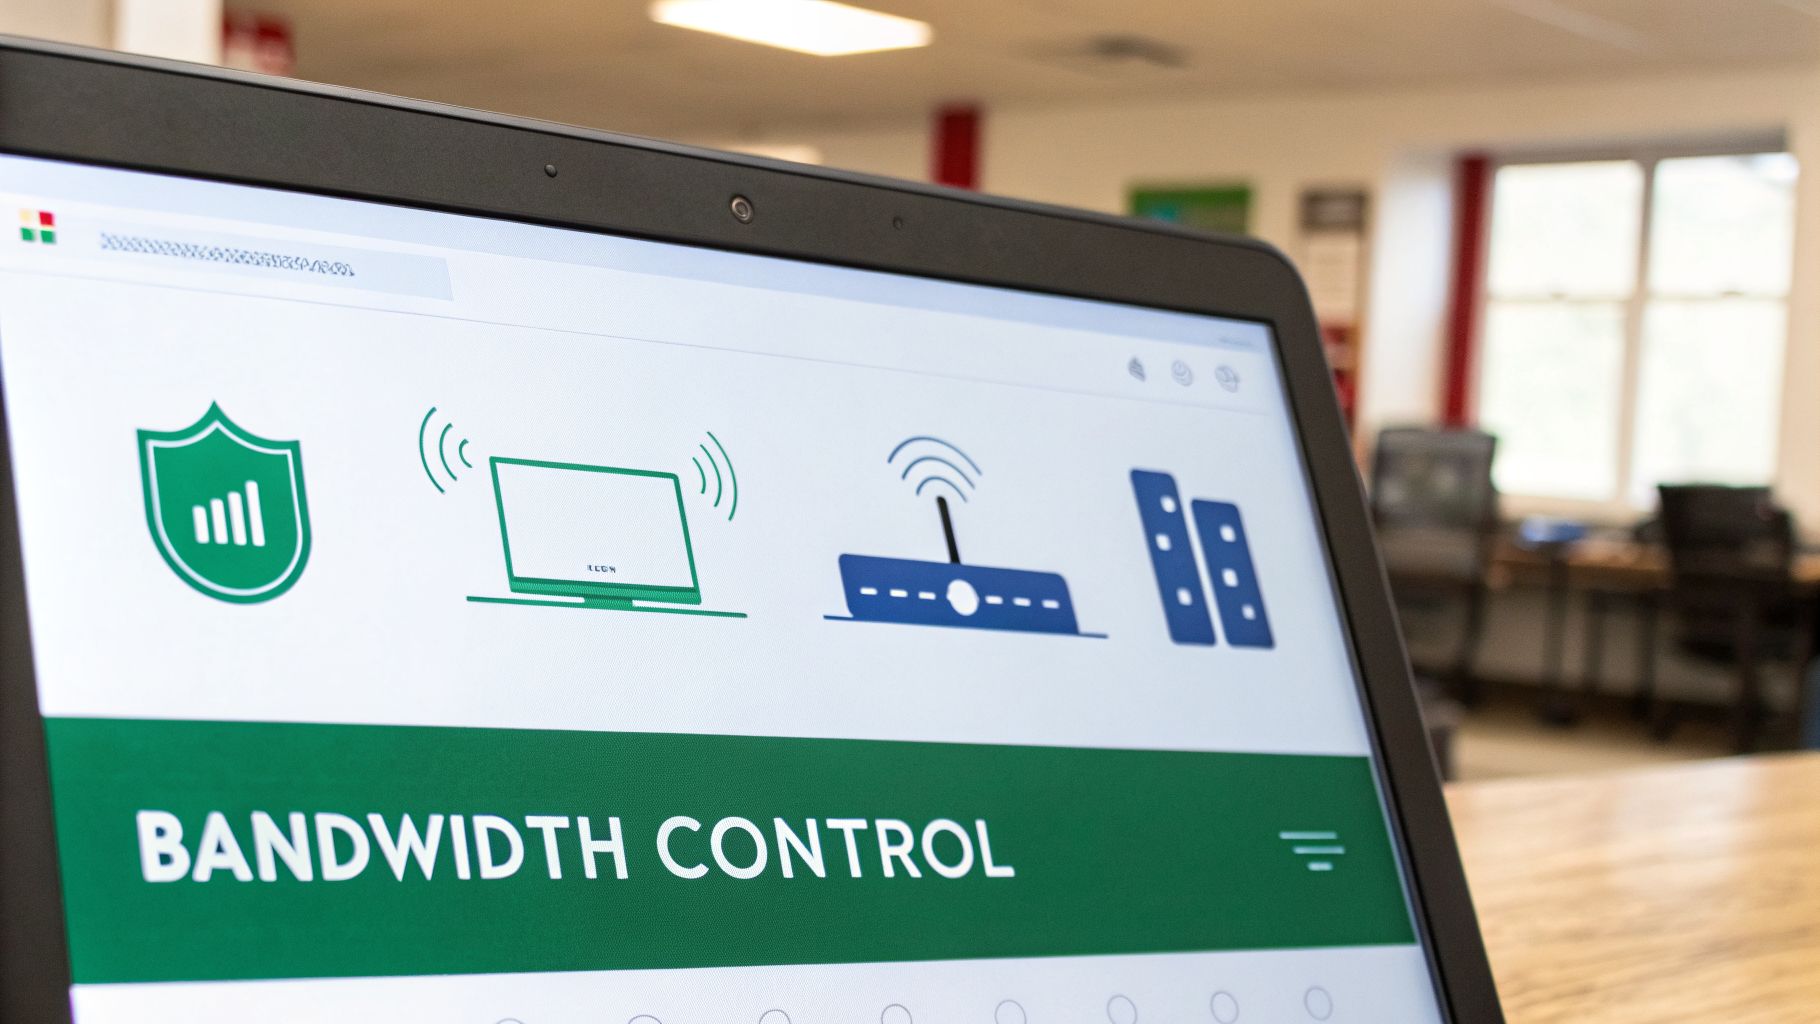
Managing Bandwidth with Queues and Firewall Rules
After you’ve locked down your router and got the basic services running, it’s time to manage your network's most precious commodity: bandwidth. Inside Winbox, this is done using two powerful features that work hand-in-hand: the Firewall and Queues. These aren't just for security; they’re how you actually enforce the service plans your business is built on.
A good way to think about your router's firewall is like a very thorough bouncer at a club. It stands at the door checking every data packet that wants to get in or out. This bouncer has three different lists—known as 'chains'—to decide what happens to the traffic.
Getting a handle on these chains is the key to writing effective rules in the IP > Firewall section of Winbox.
Understanding Firewall Chains
The three main firewall chains you'll constantly be working with are input, forward, and output. Each has a distinct role in protecting both your network and the router itself.
Input Chain: This is the bouncer for the router itself. Any traffic trying to reach the router—like someone trying to log in with Winbox or a device asking for a DNS lookup—gets checked here. This is exactly where you’d add rules to block unauthorised management access from the internet.
Forward Chain: This bouncer handles the traffic that is just passing through your router. This is the vast majority of your network traffic, as your customers connect to websites and services on the internet. Rules here can block access to malicious sites or keep users from snooping around on other parts of your internal network.
Output Chain: This bouncer looks at any traffic that originates from the router. For example, if your router needs to get the correct time from an NTP server, that request goes through the output chain.
By putting a simple rule in the input chain, for example, you can instantly drop any connection attempt to your Winbox port from the public internet—a fundamental security step we touched on earlier.
Enforcing Service Plans with Simple Queues
Once your firewall is standing guard, you can shift your focus to shaping the traffic that gets through. This is where the business side of being an ISP really comes to life. Forcing speed limits isn't just a technical setting; it's how you deliver on the promises made in your service plans. In Winbox, the most straightforward way to do this is with Simple Queues.
You'll find them under the Queues menu, and a Simple Queue does pretty much what the name implies. It lets you create a rule targeting a customer's IP address and then set a maximum upload and download speed for them. If you're just starting out as a small ISP, creating and managing these queues manually for each new customer is a perfectly fine place to start.
The true power of queues is only realised when they are managed automatically. The queue rules you see in Winbox are just the technical side of your business model. Think of them as switches that an automated system can flip on and off for you.
This is precisely why integrating with a billing platform becomes so important as you grow. A system like Centipid can automatically create, update, or even delete these Simple Queues using the RouterOS API. You can explore how this all works in the official Centipid documentation.
When a customer pays their invoice, the platform instantly enables their queue. If they decide to upgrade their plan from 10 Mbps to 20 Mbps, the system just updates the max-limit on their queue without you lifting a finger. If a payment is late, their queue can be disabled or switched to a "suspended" profile with very slow speeds—all without you ever having to log into Winbox. This kind of automation is also fantastic for managing temporary access for things like hotspot users. If that sounds interesting, you might want to read our guide on managing internet vouchers.
Troubleshooting Common Network Issues with Winbox
Sooner or later, every network administrator gets that dreaded call: "The internet is down!" When things go wrong and performance slows to a crawl, your first instinct might be to panic. This is where a deep knowledge of your tools, especially Winbox, makes all the difference. It stops being just a configuration tool and becomes your first-aid kit for getting things back online.
When a connection fails, the root cause usually falls into a few common buckets: something physical is wrong, a configuration error is blocking traffic, or there's an IP conflict. Instead of just guessing, Winbox gives you everything you need to investigate each possibility methodically and bring order to the chaos.
Your Systematic Troubleshooting Checklist
When you're facing a network mystery, don't jump straight into the complex diagnostics. Always start with the simple stuff and work your way up. This approach will save you a ton of time and help you find the source of most problems much faster.
Check the Physical Layer: Is the cable even plugged in? In the Winbox
Interfacesmenu, look at the port in question. If it shows an "R" (for running), the physical link is active. If that "R" is missing, you're likely looking at a bad cable, a faulty port on either end, or a device that’s simply been turned off.Review the Configuration: Did you just change something? It's incredibly common to add a new firewall rule and accidentally block more than you intended. Go through your firewall filters, NAT rules, and queues with a fine-tooth comb to see if a recent change is the culprit.
Analyse the Logs: Think of the
Logwindow as your router’s personal diary. It records a real-time feed of everything happening, from PPPoE users failing to authenticate to DHCP clients getting their IP addresses. You can filter the log by topic to zero in on clues related to the issue you're trying to solve.Use Diagnostic Tools: If the basics check out, it’s time to dig a little deeper with the powerful diagnostic tools built right into Winbox.
Following this order ensures you don’t spend an hour tracing packets only to find out a cable was unplugged.
Using Winbox Diagnostic Tools
Once you’ve ruled out the simple fixes, Winbox has a few more tricks up its sleeve to give you a live view of your network's health and help you pinpoint exactly where things are breaking down.
Torch: You'll find Torch under the Tools menu, and it's like putting a stethoscope on a network interface. It provides a live, real-time snapshot of every bit of traffic flowing through that interface, showing you source and destination addresses, protocols, and port numbers. If you suspect a device is spamming the network or a critical service isn't getting through, Torch will show you what’s happening in seconds.
Graphing: For those frustrating intermittent problems—like random slowdowns or CPU spikes—Graphing is your best friend. You can set it up to create historical charts for almost anything, from an interface's bandwidth use to the router's CPU load over hours or days. This helps you spot patterns that are impossible to see with a real-time tool alone.
While these tools are fantastic, they're most effective when used on a network that's already secure. Exposing management tools like Winbox to the public internet is a huge security risk. In fact, research using the Shodan search engine found over 2 million MikroTik routers worldwide with an exposed management interface. Worse, an estimated 300,000 of them were vulnerable to major exploits because of outdated firmware. You can read more about the widespread risks of unpatched MikroTik routers.
By mastering these troubleshooting techniques within a properly secured environment, you'll be well-equipped to quickly restore service and keep your network running smoothly.
Common Questions About Winbox
As we wrap up, let's go through some of the questions that come up all the time when people first start getting serious with Winbox. Getting these cleared up will help you get back to what matters: managing your network efficiently.
Can I Use Winbox on a Mac or Linux Computer?
You absolutely can. Although Winbox is built for Windows, it runs flawlessly on macOS and Linux using a compatibility tool called Wine. Many network admins, myself included, use this exact setup every single day.
Once you have Wine installed and configured, the experience is practically identical to running it on a native Windows machine. You won't miss out on a single feature, giving you full control over RouterOS from whatever operating system you prefer.
What Is the Difference Between Connecting with an IP vs. a MAC Address?
Connecting with an IP address is the standard way most network applications talk to each other. It’s a Layer 3 connection, meaning your router needs a functioning IP address that your computer can reach.
Connecting with a MAC address, however, is a special Layer 2 trick that’s unique to Winbox. This is a real game-changer. It lets you find and log into any MikroTik device on your local network segment, even if it has no IP address set or has a misconfigured one.
It’s the ultimate lifesaver for setting up a brand-new router straight out of the box or for getting back into a device you've accidentally locked yourself out of.
Do I Really Need to Update My Winbox Version?
Yes, and you should make it a habit. MikroTik frequently updates Winbox to support new RouterOS features, fix bugs, and, most critically, patch security holes.
Trying to use an old version of Winbox with a newer RouterOS is asking for trouble. You might run into strange compatibility issues where menus are missing or your settings just won't save. The latest version is always a quick, free download from MikroTik's official website.
How Does an ISP Billing System Work with Winbox?
An ISP billing platform, like the one we've built at Centipid, essentially automates all the repetitive tasks you’d otherwise do manually in Winbox. Instead of you logging in to create every PPPoE user or set up each new Hotspot account, the billing system handles it for you using the RouterOS API, as explained at https://docs.centipidbilling.com.
When a customer signs up or pays their bill, the platform instantly tells your router to create their account, apply their speed limit, and give them internet access. If they're late on a payment, the system can suspend their service automatically.
This kind of automation frees you from the daily grind of managing individual users. It lets you use Winbox for what it’s best at: high-level network analysis, fine-tuning complex firewall rules, and troubleshooting tough issues. The billing platform takes care of the day-to-day subscriber management, which is especially powerful for services with high customer turnover, a point we explore in our guide on the Lipa Na Mpesa portal.
Ready to automate your ISP operations and grow your business? With Centipid Technologies Ltd., you can integrate your MikroTik network with a powerful billing and automation system, letting you focus on growth instead of manual tasks. Explore how we can help at https://centipidbilling.com.